|
Viewing 1 - 6 out of 6 Blogs.
This is a pretty easy tutorial make sure you use a skinny plastic or metal headband that is the most important thing
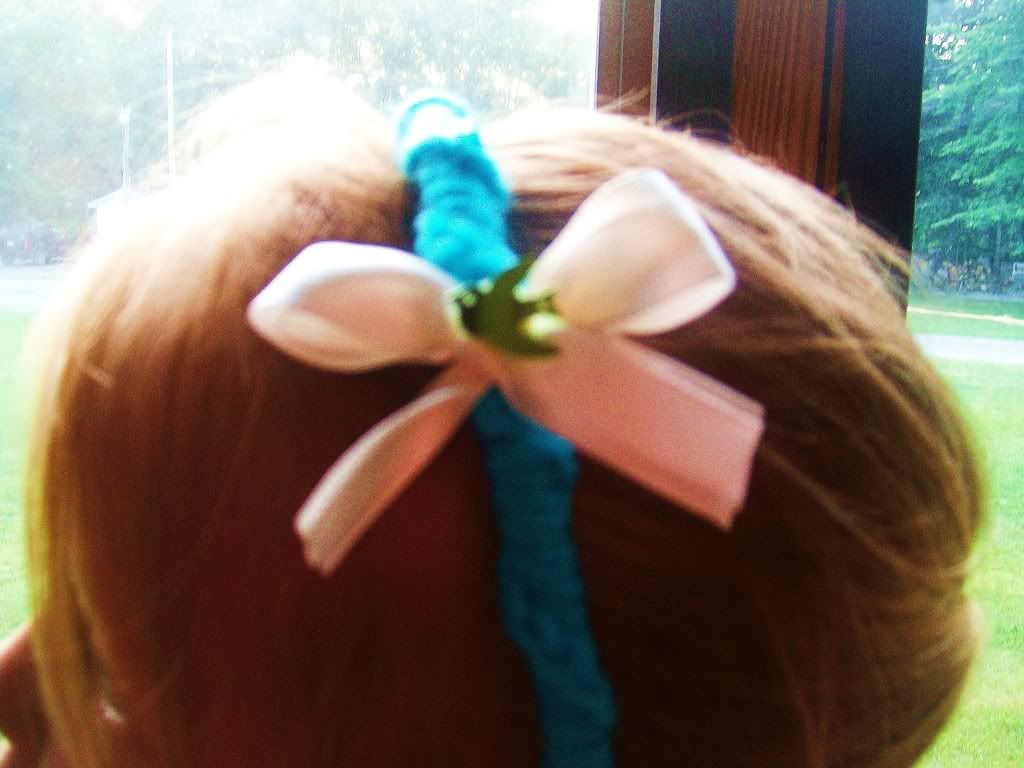
materials: skinny headband yarn in whatever color felt to match size G crochet hook glue gun
pattern: tie the yarn onto the headband or join with a slip stitch single crochet around and slightly twisting to get the twisted effect 
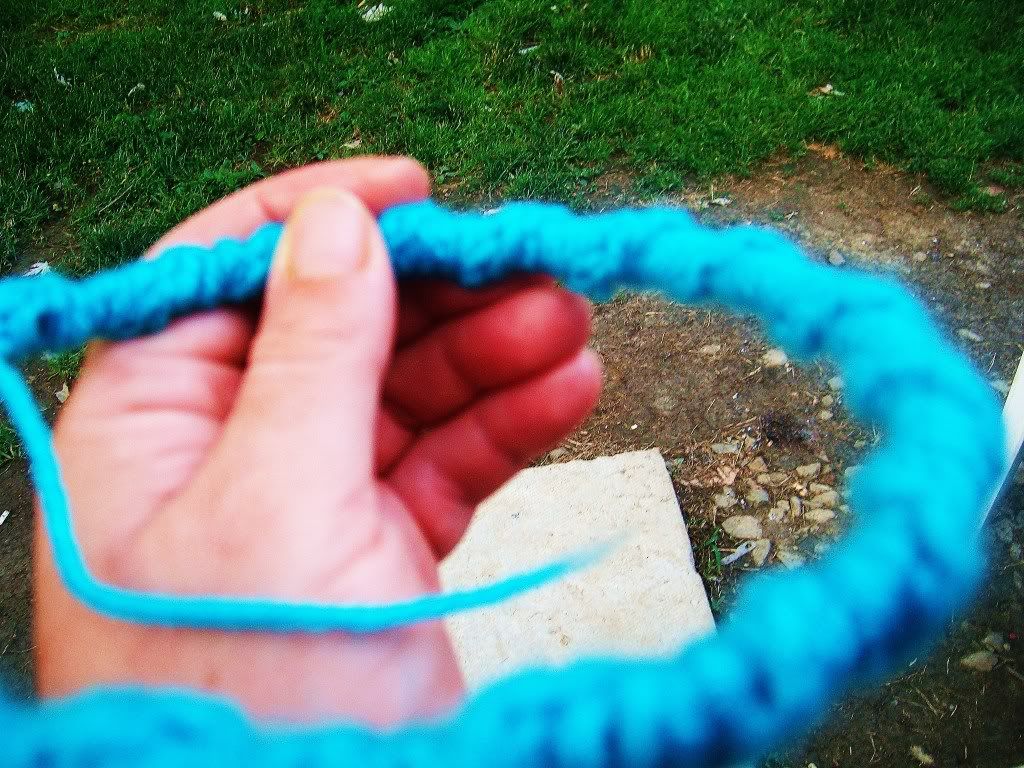
I did not count stitches I just crocheted to the end and tied off then cut 2 rectangles of felt to cover the ends not only to keep the stitches on but also to make it look better that's all there is it took me about 20 mins to finish:) 
Tags: crochet pattern tutorial headband
|
wolf
Posted On 06/08/2011 07:55:08
|
wolf dreams haunt me paws hitting the soft earth the scent of prey calls howling at the moon letting her know my heart is full wolf dreams haunt me though I wonder does the wolf dream of me? do I haunt him?.........(C)mjr 2011
Tags: poetry writing
|
the end
Posted On 06/08/2011 07:53:34
|
a small seed began to grow the mighty oak reaching for the sky two lover intertwined roots and flesh one a raging inferno a wildfire hungry devouring everything love passion at high peak burns only so long as there is fuel for the fire burns through emotions full tilt leaving destruction falling to pieces holding broken dreams dreams become ash a shell remains of a fire that can not last nothing left tears are dry cold winter is nigh freezing the soul begins when the love ends.....(C)MJR 2011
Tags: poetry writing
very simple handwarmers for little girls
****************************************

*this pattern cam about because I searched the internet for a handwarmer pattern or armwarmer pattern for little girls and came up with only 1 which did not suit my needs my Mazzy is always cold and her little hands are like ice she needed something she could wear that would keep her hands warm but let her do schoolwork and such so I came up with these she loves them and they are so simple to crochet this pattern will fit a little girl or boy if you use other colors age 4 to 7 depending on their hand size remember this is a free pattern respect my rights and do not claim it as your own you are free to make as many as you want and if you sell any give me credit for the pattern thanks :)*
Mazzy's handwarmers
*******************
materials: yarn of any color this pattern won't use a whole skein, crochet hook size F, scissors, and super glue just for making the knots sturdy when you are done I just dab a little on the knots and blow it dry cuz my kids are very hard on things and that helps keep the knot secure
skill level: easy beginner must have basic crochet skills
(you make 2)
foundation row: chain 19 turn sk 1st ch dc in each stitch to end ch 1 turn
row 1- 12: **dc in each st down to end ch 1 turn** (repeat row 12 times)
finish: tie off dab on glue if you want make sure all stitches are secure weave in ends fold in half so stitches are going across instead of up and down stitch or crochet together leave hole for the thumb you can single crochet around the hole to make it stronger if you want tie off weave on ends
***I will do another small tutorial later for different styles and embellishing so you can see how to make them unique to your child's taste and I will give you different sizes too***

Tags: crochet pattern kids handwarmer armwarmer gloves mittens accessories
|



